Note: I’ve been using Gatsby, but this example can be applied in any React site.
Building a good UI is hard and it both involves technical, copywriting, UX and design skills to do well. This won’t be a long post on the why and what A/B Testing is. There is a lot to read in this topic though. How to do a statistically significant experimentation and so on. However, it’s very important to research and think about why you want to test something.
You might have Google Analyics tracking. You can see the number of visits, dropoffs, maybe also track conversions. But what do you do when you want try variants of the UI. A/B testing to the resque! You can test things individually in a variant like colors, UX copy, position, layout, Call to Action messages, buttons and more.
- Identity the problem – Could a lower conversion or low degree of signups be because of something else?
- Research. Check all Analytics reports and the behaviour of your users
- Sketch out variants that could take care of the issues and improve the user experience
- Implement variants
- Track data for a time period
- Make your decisions based on these reports
There are a number of different types of A/B testing techniques you can implement. In this example I work with a Gatsby site. It’s a static site, and I can choose from:
- Traditional A/B Testing
- Branch based. As an example Netlify has this option
- Edge-based page splitting. Some JAMStack vendors like Outsmartly and Uniform have edge CDN integrations that allow them to serve multiple versions of a page.
Other great tools are Splitbee and Optimizely.
I’ll be working with Traditional A/B Testing in this example. I wanted to use libraries with a small footprint, so these where good options.
Install
npm packages
- react-ab-test. A/B testing React components and debug tools. Isomorphic with a simple, universal interface. Well documented and lightweight. Tested in popular browsers and Node.js. Includes helpers for Mixpanel and Segment.
- mixpanel-browser. The official Mixpanel JavaScript Library is a set of methods attached to a global mixpanel object intended to be used by websites wishing to send data to Mixpanel projects.
npm install react-ab-test mixpanel-browser
Import components
import {
  Experiment,
  Variant,
  emitter,
  experimentDebugger,
} from "@marvelapp/react-ab-test"
Import utils
This is just some internal utils I have. You will have to replace mixPanelProjectID with your ID.
import { logGAEvent, mixPanelProjectID } from "utils"
Initialize Mixpanel
mixpanel.init(mixPanelProjectID);
Enable the debugger and define variants
experimentDebugger.enable()

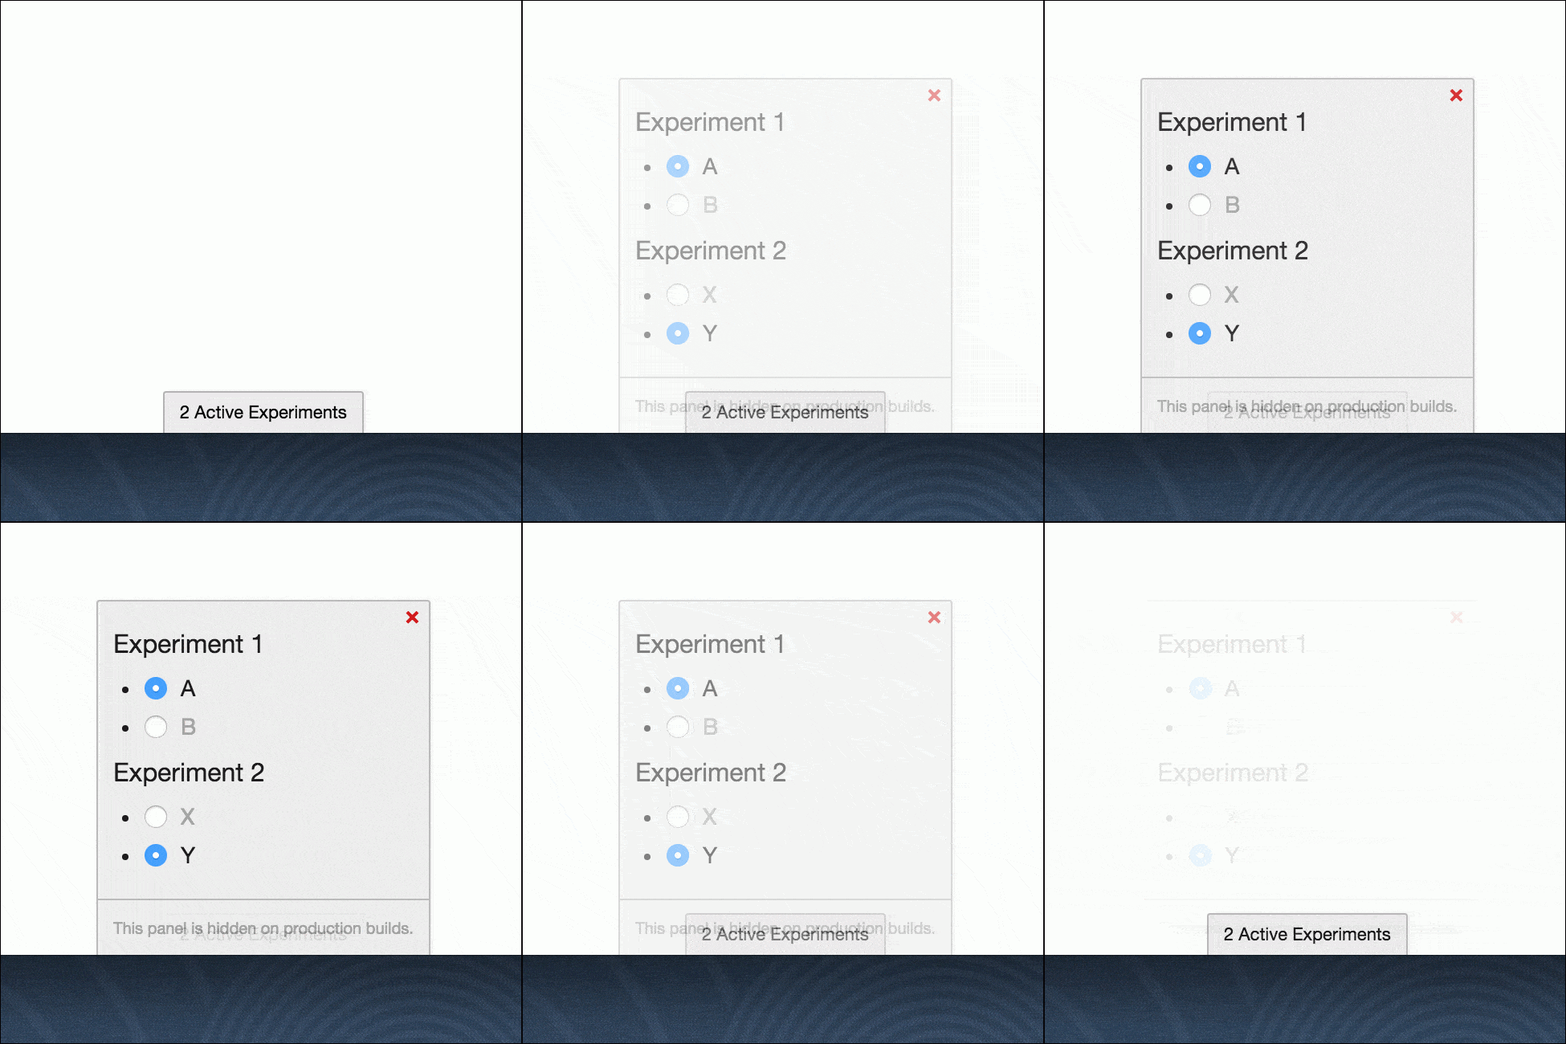
This is the Debugging tool. Attaches a panel to the bottom of the <body> element that displays mounted experiments and enables the user to change active variants in real-time.
This panel is hidden on production builds.
Create and define Variants
emitter.defineVariants("navigationCTAExperiment", [
  "white",
  "magenta",
  "primary",
])
Wrap components in <Variant /> inside <Experiment />. A variant is chosen randomly and saved to local storage.
 <Experiment name="navigationCTAExperiment">
  <Variant name="white">
    <button	className="button-primary"  onClick={() => handleClick()}>
      Start Free Trial
    </button>
  </Variant>
  <Variant name="magenta">
    <button	className="button-brand-color" onClick={() => handleClick()}>
      Start Free Trial
    </button>
  </Variant>
</Experiment>
Emit a win event
emitter.emitWin("navigationCTAExperiment")
Called when a ‘win’ is emitted.
Report to your analytics provider using the emitter.
emitter.addWinListener(function(experimentName, variantName) {
  console.log(
    `Variant ${variantName} of experiment ${experimentName} was clicked`
  )

  /* Track in Mixpanel */
  mixpanel.track(experimentName + " " + variantName, {
    name: experimentName,
    variant: variantName,
  })

  /* Track in Google Analytics */
  logGAEvent(
    `Experiment ${experimentName}`,
    "click",
    `Variant ${variantName} was clicked`
  )
})
Experiment
The localStorage item is saved like this.

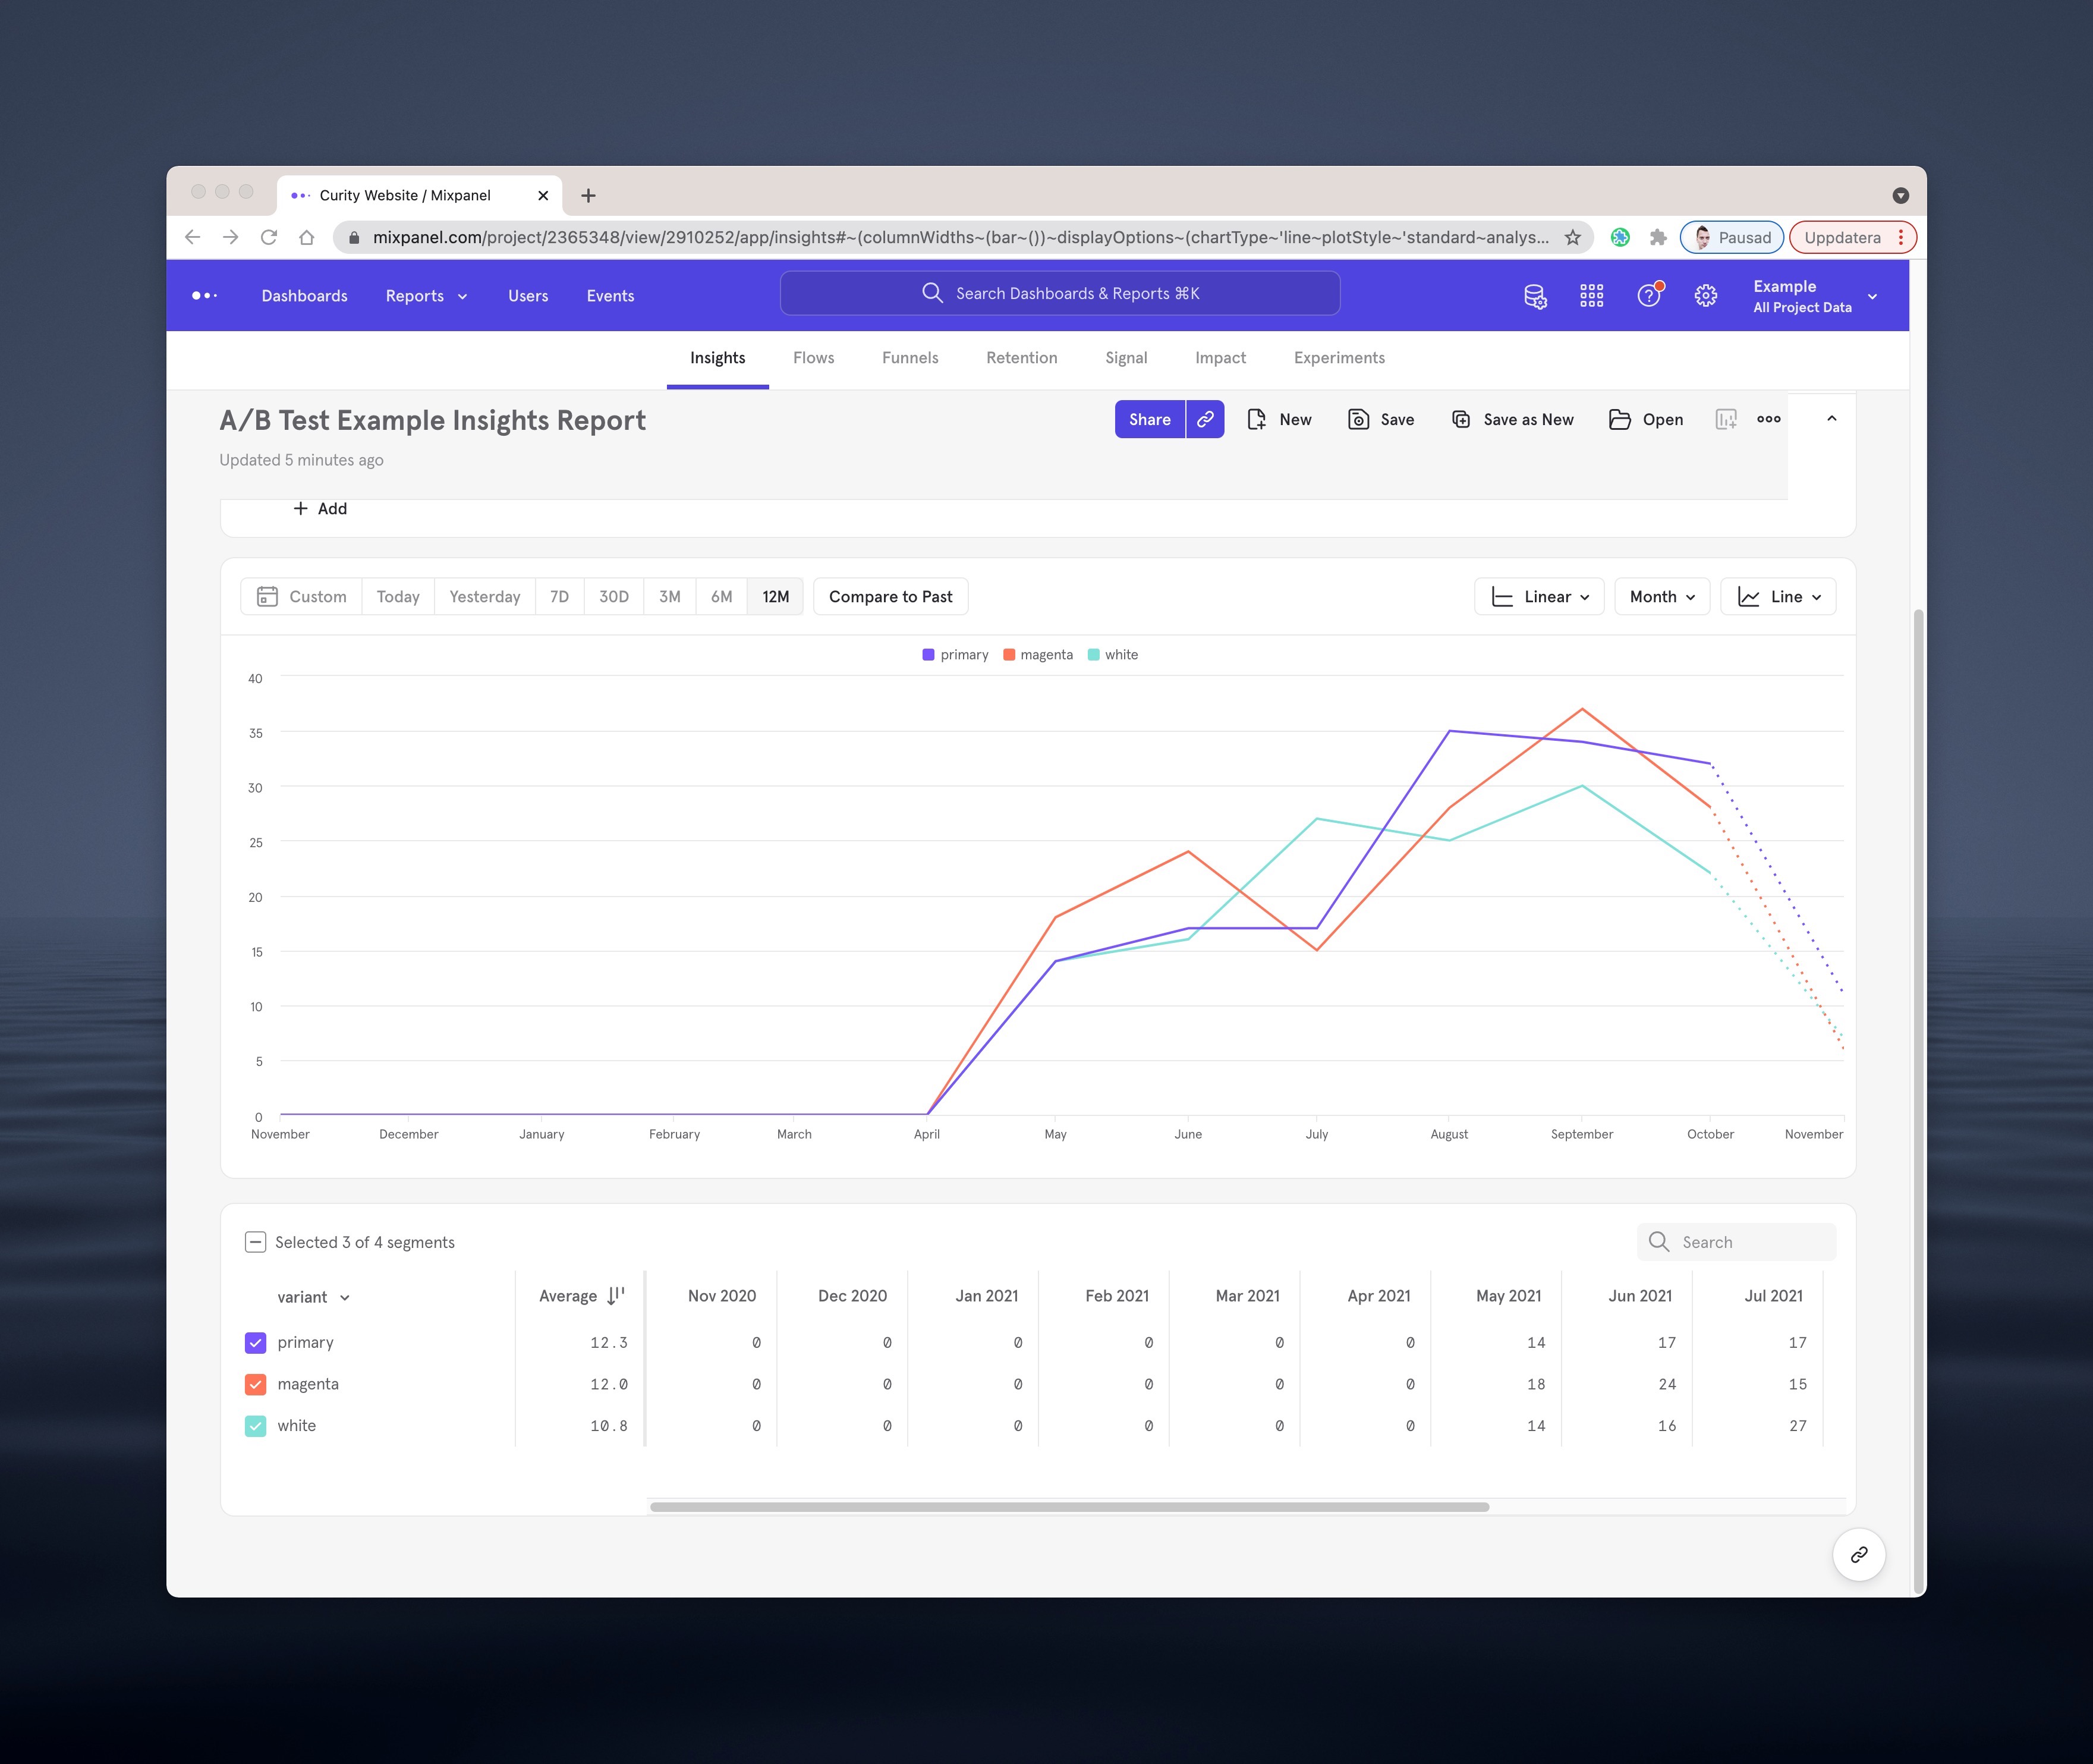
Mixpanel
Once setup is done you can follow the tests in your reporting provider of choice.

 @urre
@urre 